Homemade Cinnamon Rolls
This post may contain affiliate links. Read the full disclosure here.
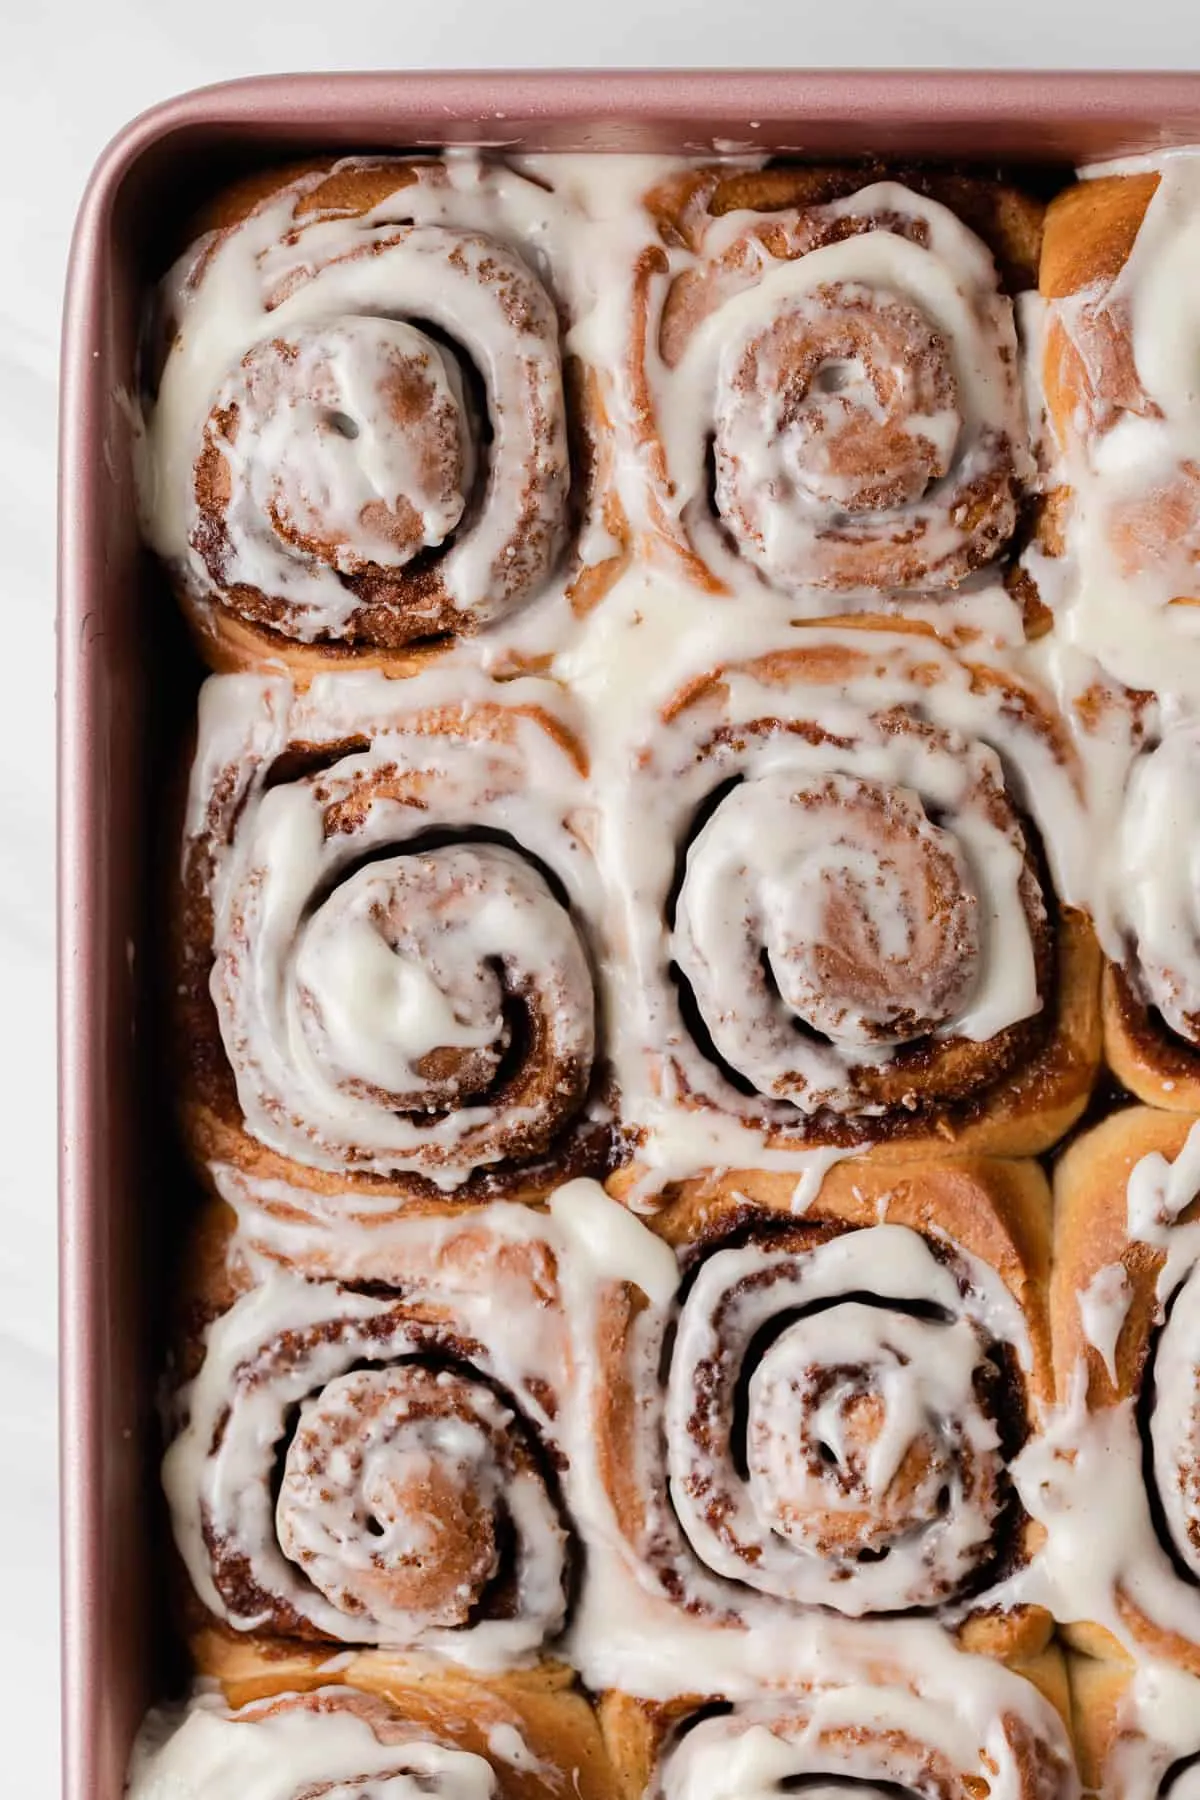
This is the best homemade cinnamon rolls recipe ever with delicious cinnamon roll icing! The light and fluffy texture, brown butter flavor, and silky cream cheese icing cannot be beaten.
Want To Save This?
I love making this cinnamon roll recipe at home. These are seriously the best cinnamon rolls I have ever had – better than, even, Cinnabon! I even like to add apples for amazing apple cinnamon rolls.
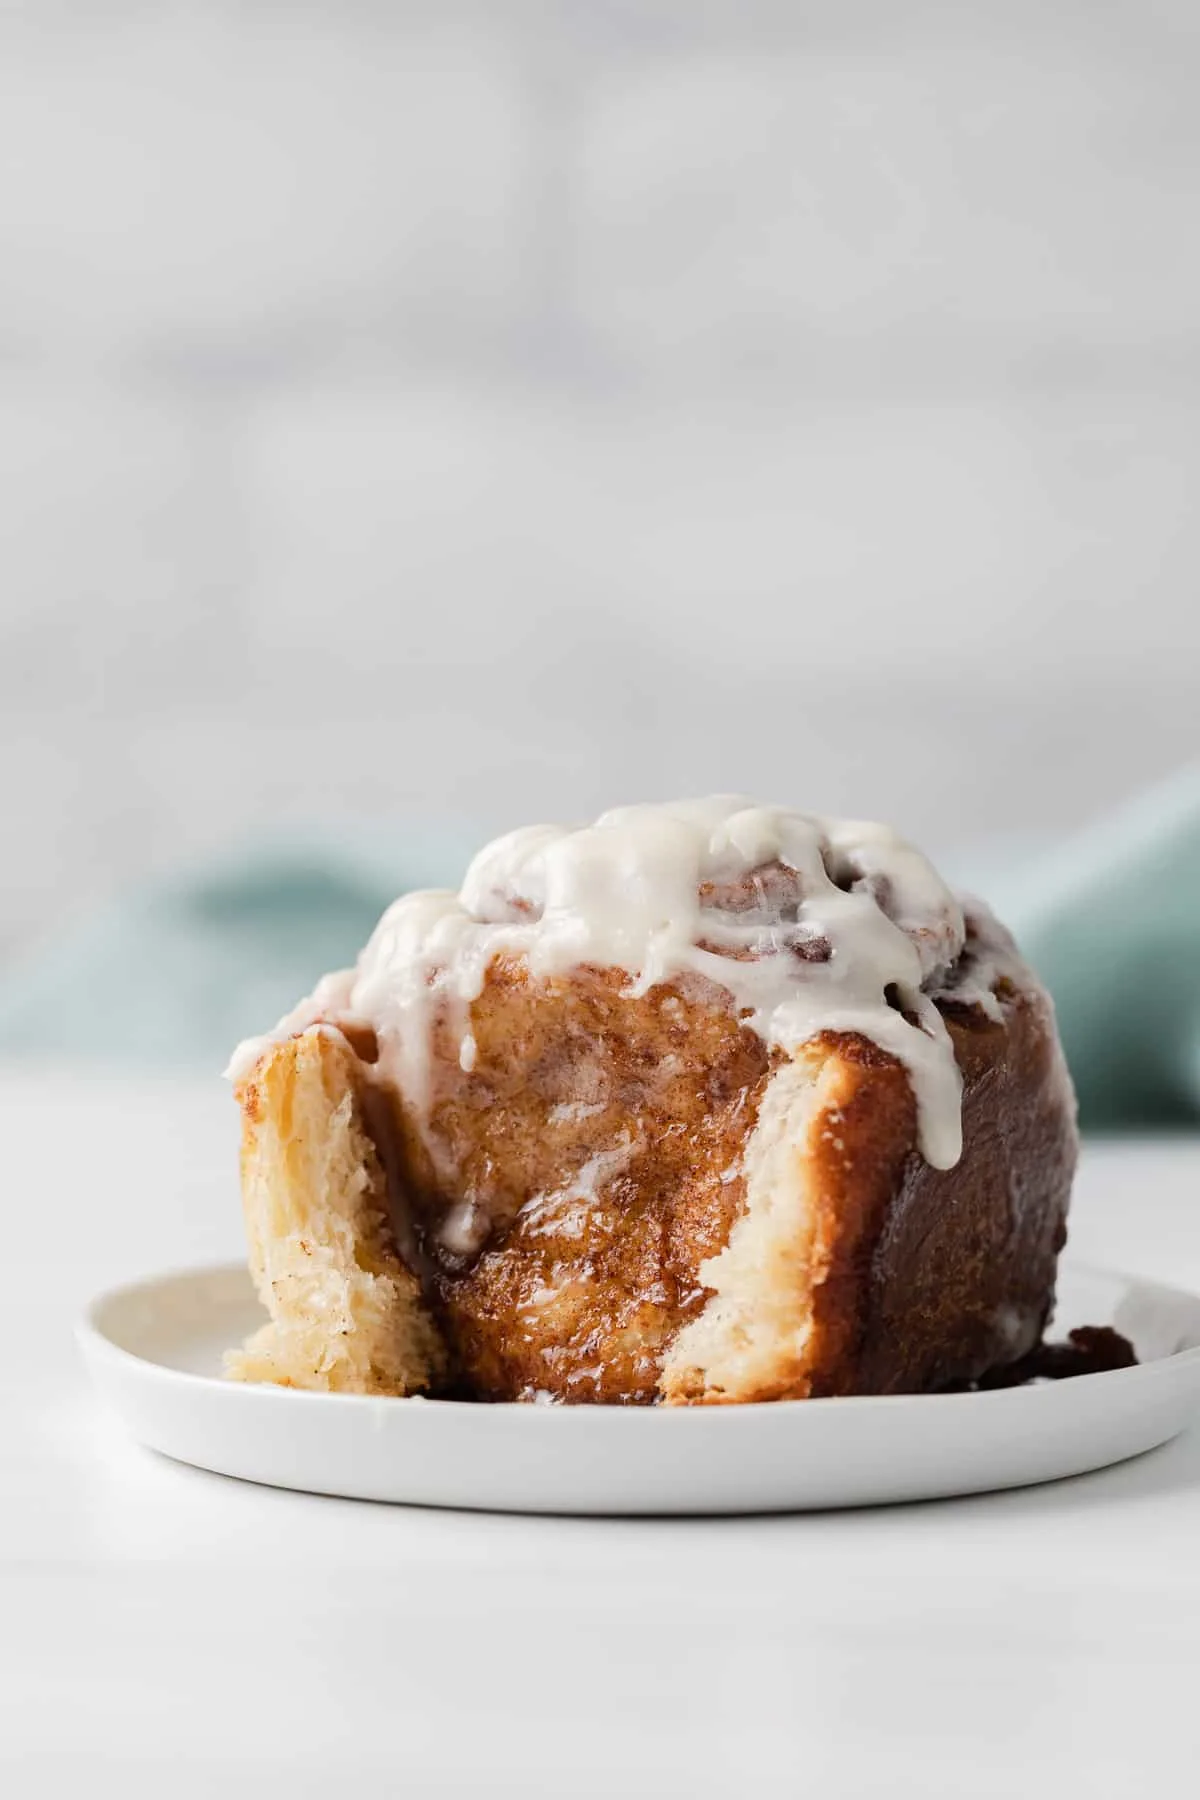
These have a soft, fluffy texture. The brown butter in the icing, dough, and filling gives them an extra caramel hint. The flavor is totally irresistible.
This is the best cinnamon roll icing I have tasted. It is creamy and silky from the cream cheese, but it also tastes caramel-like from the brown butter.
Start your day off right. Join me in making homemade cinnamon rolls for yourself and your loved ones.
You’ll be licking cinnamon roll icing off your fingers before you know it!
Why this recipe works
- The brown butter in the dough, filling and icing creates a unique caramel-like flavor in the rolls.
- Using cornstarch in the dough breaks down the gluten development and results in soft and tender rolls.
Homemade cinnamon rolls are so amazing. You can taste the difference between premade or store-bought rolls.
What you need
There is a reason these cinnamon rolls are better than Cinnabon! Let’s discuss just a few of the key ingredients:
Ingredients
This is a short overview of the ingredients I used and why I chose them. The full recipe can be found at the bottom of the post!
- Milk & butter: The warm milk activates the yeast, while the butter adds richness to the rolls.
- Yeast: I use instant yeast in this recipe. However, you can use active dry yeast with a longer rise time.
- Eggs: These add moisture and create tenderness in the rolls.
- Flour: I use all-purpose flour in this recipe to create the right texture for the dough.
- Sugar: This ingredient adds the right amount of sweetness to the recipe.
- Cornstarch: I use cornstarch in this recipe to break down gluten development, which results in soft and tender rolls.
- Cinnamon: This spice adds a sweet and woody flavor to the rolls.
- Cream cheese: This gives the icing a rich texture and flavor.
Equipment
This is a list of tools I used to make the recipe.
- Mixer: I prefer using a stand mixer with a dough hook attachment for this recipe.
- Baking pan: You’ll need a 9×13-inch baking pan to create the rolls.
How to make cinnamon rolls
1. Brown the butter
Making brown butter is a big part of the cinnamon rolls recipe. It goes into the dough, the filling, and the icing to create a caramel-like flavor.
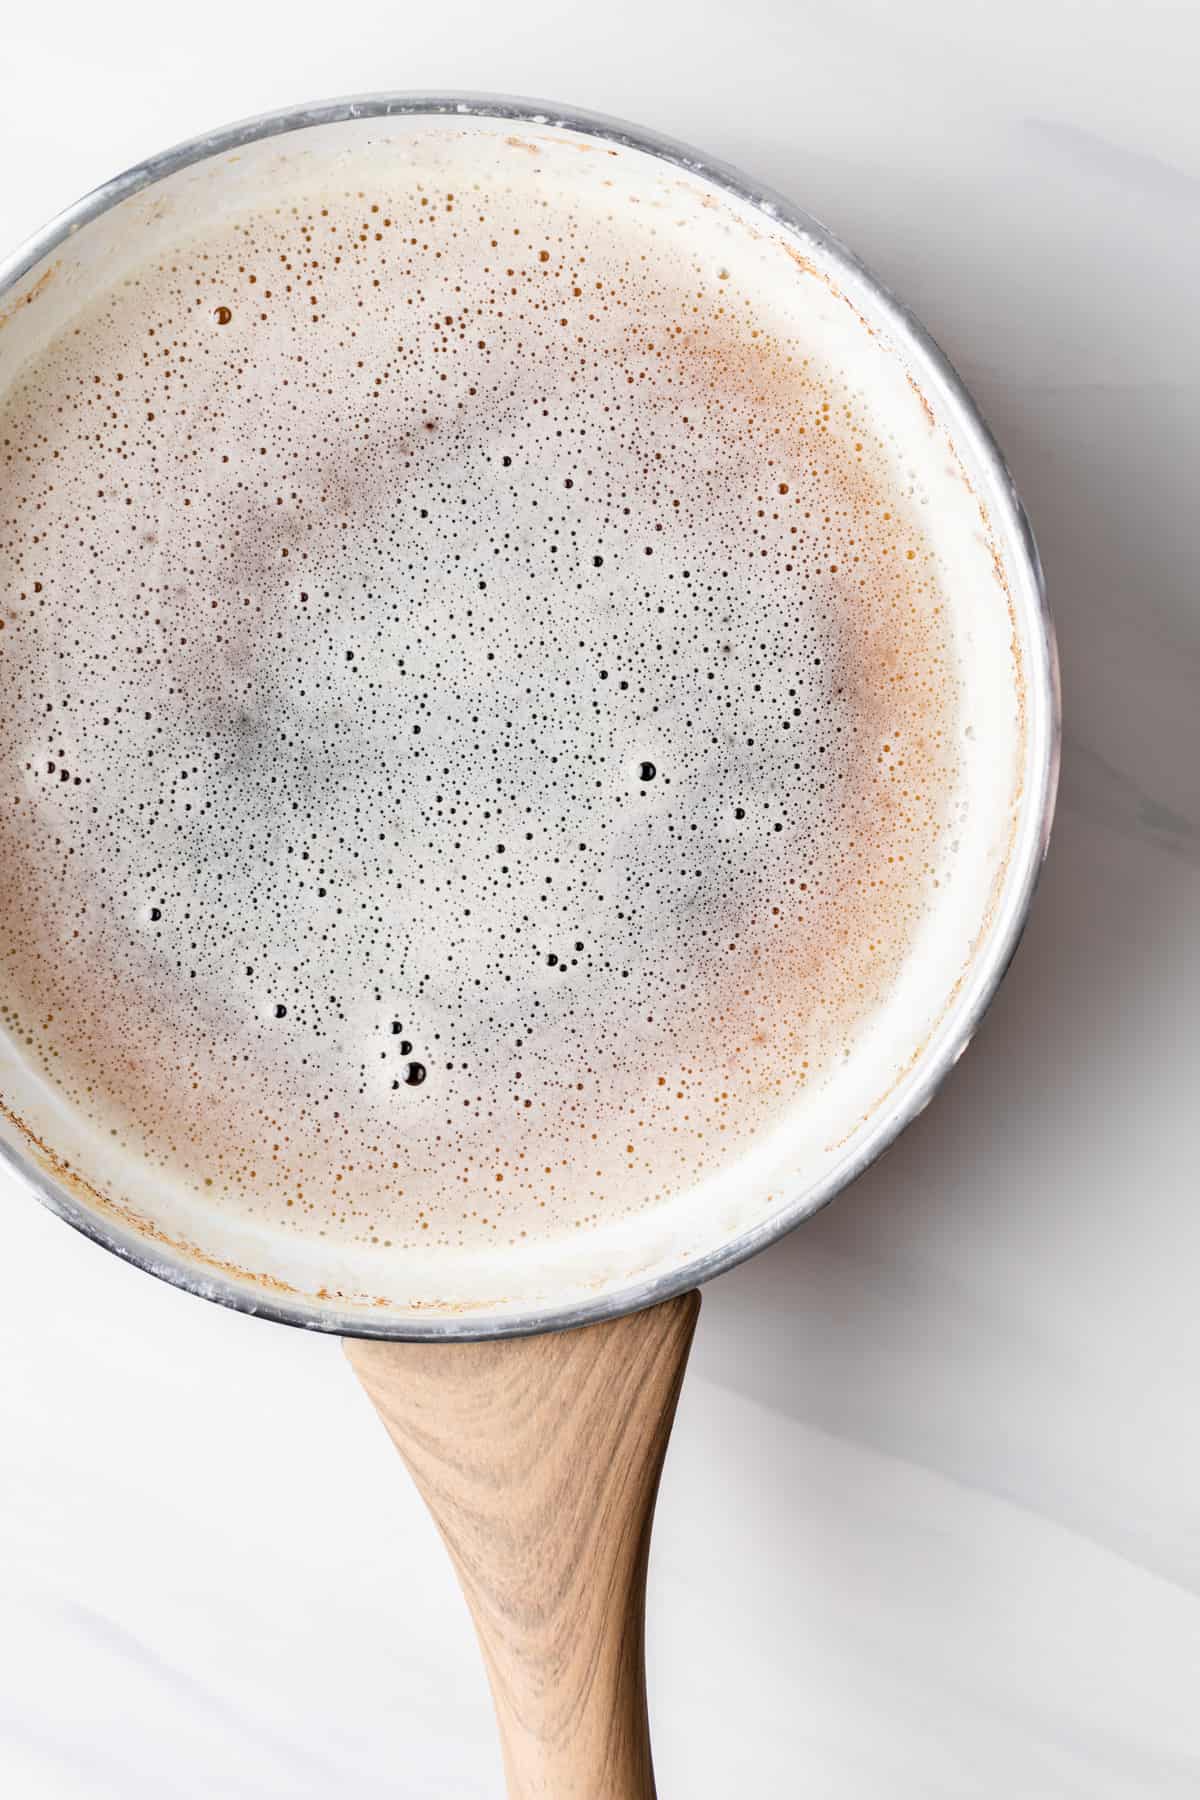
- Whisk the butter frequently in a saucepan over medium heat.
- Then, cook until melted. It’s OK for the butter to foam as it will subside.
- Continue to cook until brown bits develop in the bottom of the pan. The butter will turn a light golden brown.
- Set aside to cool slightly. Remove ⅓ cup to use in the filling. Remove ¼ cup to use in the icing. Then, about ⅔ cup should remain for use in the dough.
2. Make the dough
You’ll create the cinnamon roll dough by combining wet and dry ingredients.
- Add warm milk to a bowl. Then, whisk in yeast until it is dissolved. Next, whisk in the eggs and ⅔ cup brown butter.
- Then, add the flour, sugar, cornstarch and salt to the bowl of a stand mixer. The mixer needs the dough hook attachment.
- With the mixer on low, gradually pour the milk mix into the flour mix.
- Continue to beat on low until flour is incorporated. Stop and scrap sides and bottom of the bowl, as needed.
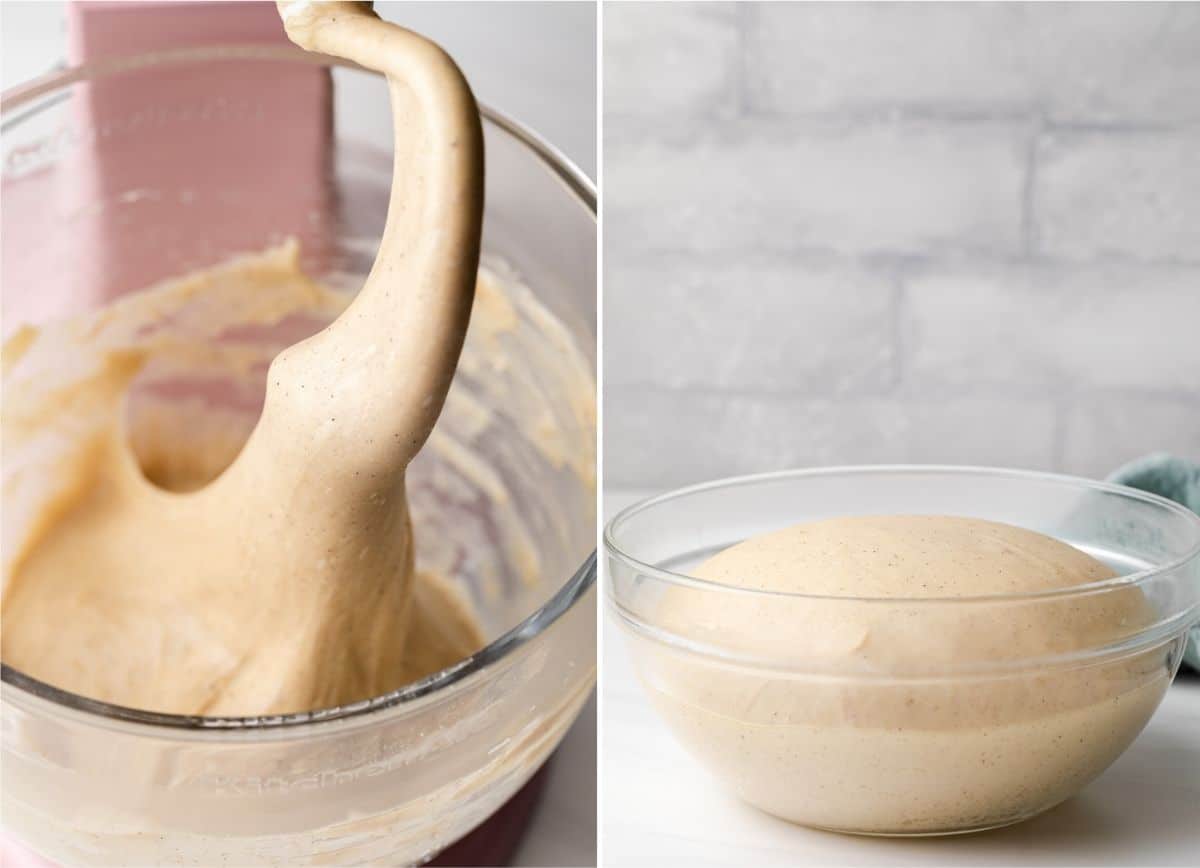
- Then, turn the speed up to medium. Mix until the dough is smooth and pulls away from the bowl’s sides. This will take about 10 minutes.
- Scrape the dough out into a lightly oiled bowl. It is normal for the dough to be soft, smooth and tacky.
- Brush oil on the top of the dough. Then, cover and set in a warm place to rise for about 45 minutes or until doubled in size.
3. Fill and shape rolls
First, you will make the filling. Then, you will use it along with the dough to form homemade cinnamon rolls.
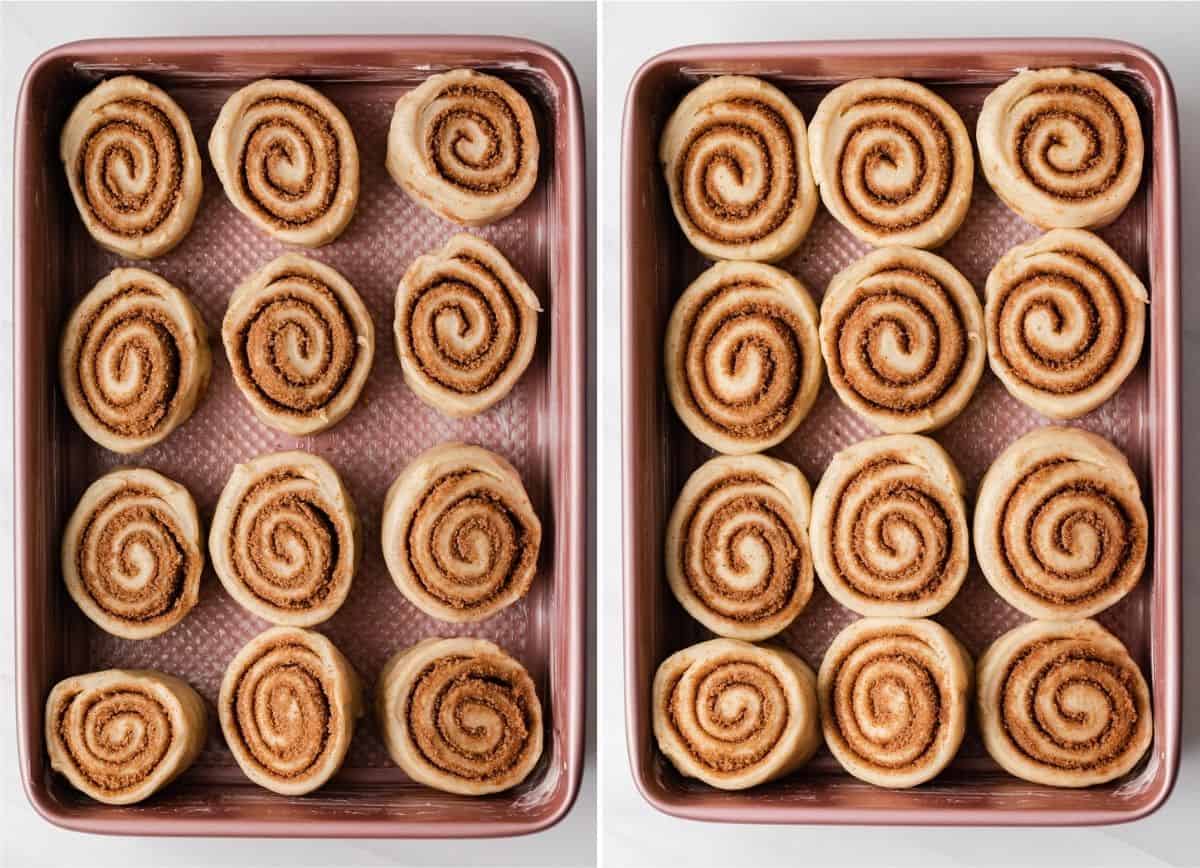
- Prepare the 9×13-inch baking pan by generously greasing it. Set aside.
- Combine brown sugar and cinnamon in a small bowl.
- Turn the dough out onto a lightly floured surface. Then, roll it into a 25×15-inch rectangle.
- Spread ⅓ cup brown butter over the dough. Then, evenly sprinkle the brown sugar mix.
- Starting on the long side, roll the dough into a log. Then, pinch the seam to seal.
- Place the log, seam-side down, on a cutting board. Slice the log into 12 equal cinnamon rolls.
4. Bake and ice rolls
The rolls will need to bake while you prepare the icing. Then, top with icing to finish the rolls.
- First, arrange the 12 pieces cut side up on the pan. Then, cover with plastic wrap and let rise for 30-45 minutes or until doubled in size.
- Preheat the oven to 350°F. If you have a microwave above the oven, this is a great place to put the rolls to rise while the oven heats.
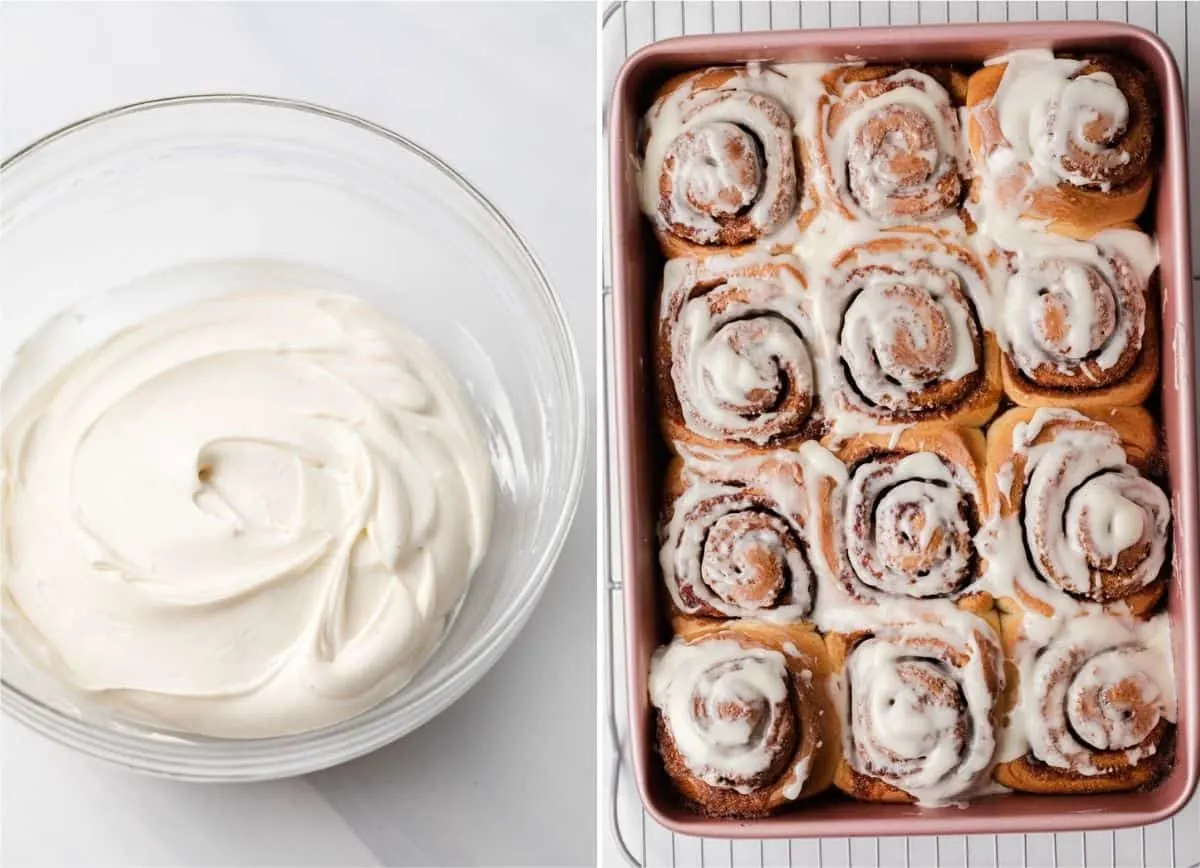
- Remove plastic wrap. Then, bake the rolls until golden brown and the filling is melted. This should take 24-27 minutes.
- Start on the cinnamon roll icing while the rolls are baking. Beat cream cheese and remaining ¼ cup of brown butter together until creamy.
- Then, beat in the confectioner’s sugar, ½ cup at a time, until incorporated.
- Add the vanilla and the cream to the mix. Blend icing until smooth and spreadable.
- Remove the rolls from the oven. Transfer the rolls to a wire rack and top with ½ cup of cinnamon roll icing.
- Finally, cool for 15 minutes prior to topping the cinnamon rolls with remaining icing.
- Serve warm and enjoy!
Frequently asked questions
Some readers like adding chopped nuts and raisins to their rolls. This works fine. Sprinkle them over the dough after you add the filling in step 4 of “Make the filling”.
Instant yeast and active dry yeast can be used interchangeably. Active dry yeast needs a longer rise time. Follow the proofing instructions on the back of the yeast packet.
I don’t advise it! The recipe was developed using all-purpose flour. This means the ratio of ingredients is based on this particular type of flour. Using anything other than that can affect how the final product turns out.
Jen’s Best tips
- Help the dough rise by turning the oven on the lowest setting for 3 minutes. Then, turn off the oven and place the bowl of dough inside.
- Plan to make the brown butter ahead of time. Allow it to cool, but not solidify, before using it in the recipe.
- If your brown butter solidifies while you are working on the recipe, you can heat it in the microwave for 10-15 seconds until melted.
Storing & Freezing
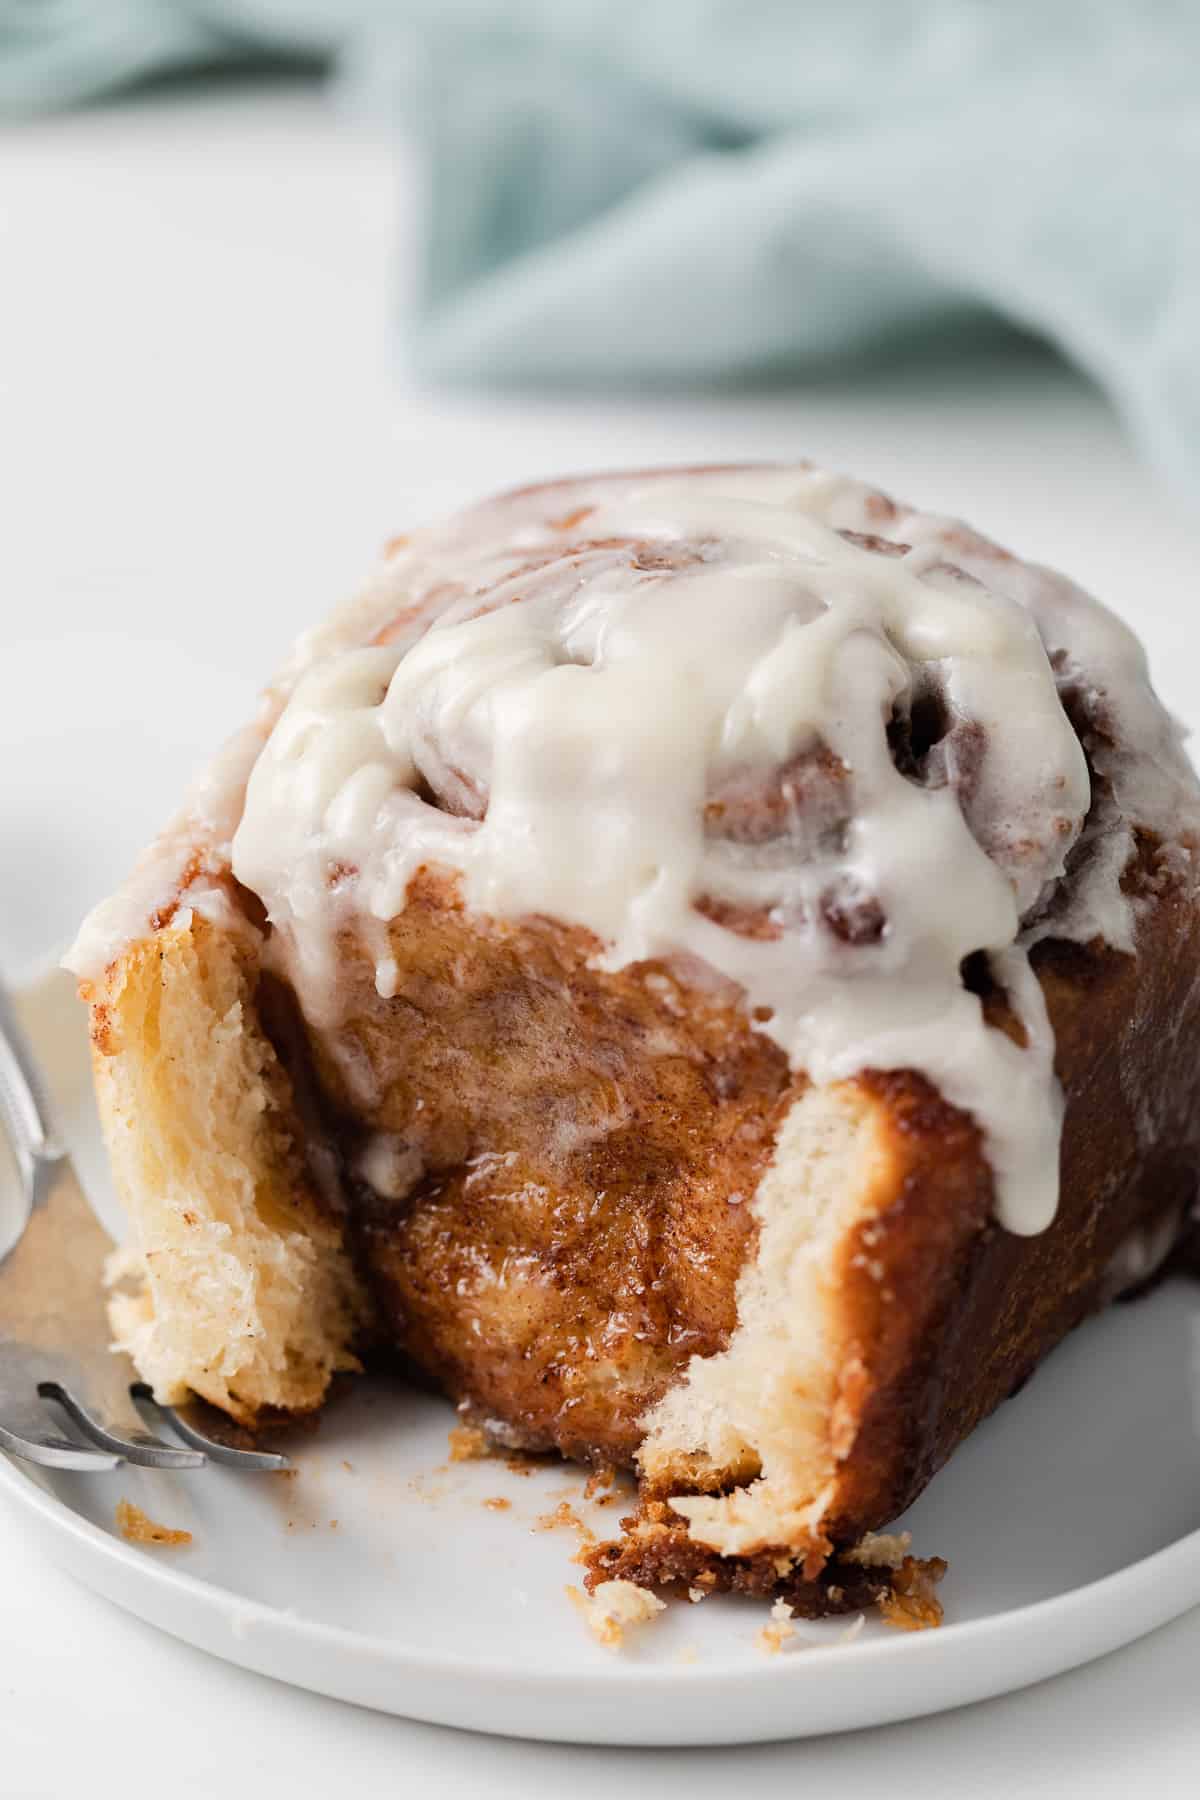
To store: You can store baked and glazed rolls for no more than 4 days by covering them tightly and storing them in the fridge.
You can partially prepare the rolls, too. Make them through step 5 of, “Make the filling,” of the cinnamon rolls recipe.
Then, cover the pan with plastic wrap and refrigerate for no more than 24 hours.
When ready to bake, remove the rolls from the fridge. Partially unwrap and then continue with step 6.
To freeze: The baked and glazed rolls can be frozen for no more than 2 months.
More sweet roll recipes to try
Breakfast is not complete without a sweet roll! These are some of my favorites on the blog:
Cinnamon Rolls
Ingredients
For the brown butter
- 1 ¼ cup (283 g) unsalted butter
For the dough
- 1 cup (240 ml) whole milk, warmed to 105-115ºF
- 2 ¼ teaspoons instant yeast, 1 envelope
- 3 large eggs, room temperature
- ⅔ cup (122 g) brown butter, melted
- 4 ¼ cups (552 g) all-purpose flour
- ½ cup (100 g) granulated sugar
- 1 tablespoon cornstarch
- 1 ½ teaspoons salt
For the filling
- 1 ½ cups (315 g) light brown sugar, packed
- 2 tablespoons ground cinnamon
- ⅓ cups (61 g) brown butter, melted
For the icing
- 2 ounces cream cheese, softened
- ¼ cup (47 g) brown butter, softened
- 1 ½ cups (180 g) confectioners’ sugar, sifted
- 1 teaspoon pure vanilla extract
- 3 tablespoons heavy cream, or milk
Instructions
Make the brown butter
- Heat the butter in a small saucepan over medium heat, whisk frequently. Continue to cook until melted. The butter will foam and then subside.
- Continue to cook until brown bits develop in the bottom of the pan and the butter turns a light golden color, about 8 minutes.
- Set aside to cool slightly. Remove ⅓ cup of the brown butter and reserve it for the filling. Remove ¼ cup of the brown butter and reserve it for the icing. You should have about ⅔ cup remaining to use for the dough.
Make the dough
- Add the warm milk to a medium liquid measuring cup or bowl. Whisk in the yeast until it's dissolved. Whisk in the eggs and ⅔ cup brown butter.
- Add the flour, sugar, cornstarch, and salt to the bowl of a stand mixer fitted with the mixer with the dough hook attachment.
- With the mixer on low speed, gradually pour the milk mixture into the flour.
- Continue to beat on low until the flour is incorporated, stop and scrape down the sides and bottom as needed. Turn the speed up to medium and mix until the dough is smooth and comes away from the sides of the bowl, about 10 minutes. The dough will be soft, smooth, and tacky.
- Scrape the dough out into a lightly oiled bowl. Brush a little oil over the top of the dough. Cover and set in a warm place to rise for about 45 minutes or until doubled in size.
Make the filling
- Generously grease a 9×13-inch baking pan. Set aside.
- In a small bowl, combine the brown sugar and cinnamon.
- Turn the dough out onto a lightly floured surface and roll it into a 25×15-inch rectangle.
- Spread ⅓ cup brown butter over the dough and sprinkle evenly with the brown sugar mixture. (If the brown butter has solidified, zap it in the microwave for 10-15 seconds until melted.)
- Starting on the long side, tightly roll the dough into a log and pinch the seam to seal. Place the roll, seam-side down, on a cutting board. Cut the dough into 12 equal pieces and arrange them cut side up in the prepared pan.
- Cover with plastic wrap and let rise for 30-45 minutes or until doubled in size. Meanwhile, heat the oven to 350°F. If you have a microwave above the oven, this is a great place to allow the rolls to rise while the oven preheats.
- Remove the plastic wrap and bake the rolls until golden brown and the filling is melted, 24-27 minutes.
Make the glaze
- While the rolls bake, beat the cream cheese and remaining ¼ cup brown butter together until creamy. Beat in the confectioners' sugar, ½ cup at a time until incorporated.
- Add the vanilla and cream. Mix until the icing is smooth and spreadable.
- Transfer the rolls to a wire rack and top with ½ cup of glaze. Cool for 15 minutes then top with remaining glaze. Serve warm and enjoy!
Notes
- Brown butter: Plan ahead since the brown butter must be made first. Allow it to cool but not solidify before dividing it and using it in the recipe.
- Yeast: You can use active dry yeast also but the rise time will need to be extended slightly. Follow the instructions on the yeast packet for proofing.
- Dough rising: To create a warm environment for the dough to rise, turn the oven on to the lowest setting and allow it to heat for about 3 minutes. Turn the oven off and place the bowl of dough inside. In a microwave above the stove with the oven preheating is also a good option.
- Mixing: You can still make these rolls if you don’t have a stand mixer! Follow the recipe, mixing in a large bowl with a wooden spoon until all the ingredients are fully incorporated. Then turn the dough out onto a lightly floured surface and knead by hand. The dough is meant to be soft and slightly tacky, try to avoid adding too much additional flour during kneading as this will make the rolls dry and dense.
- Mix-in: Some readers like adding chopped nuts and raisins to their rolls. This works fine. Sprinkle them over the dough after you add the filling in step 4 of “Make the filling”.
- Baked and glazed rolls will keep for up to 4 days, cover tightly and store in the refrigerator.
- Baked rolls will keep for up to 2 months in the freezer. Thaw in the refrigerator overnight and warm to your liking before serving.
- You can make the rolls all the way through to step 5 of “Make the filling”. Cover the pan with plastic wrap and refrigerate for up to 24 hours. When ready to bake, remove from the refrigerator, partially unwrap, and continue with step 6.
Nutrition
The nutrition information provided is for convenience and as a courtesy only. It is not guaranteed to be accurate because nutrition information can vary for a variety of reasons. For precise nutritional data use your preferred nutrition calculator and input the exact ingredients and brands you used in the recipe.

Hi Jen, can I use cake flour instead of all-purpose flour?
Thanks for your wonderful recipes!
I don’t recommend it.
Hello! I tried using the make ahead tips for this recipe. Stopped where indicated. The second proof didn’t work the next morning and the rolls kind of melted apart in the oven. Any idea what happened? I covered with plastic wrap and placed in the fridge overnight. The rolls tasted delicious, they were just a hot mess ?
Did you let the rolls proof until doubled in size after removing them from the refrigerator? This may take longer than the approximate time listed.
Hi Jen,
Is there a reason that these can’t be made ahead of time and stored in the fridge for 48 hours instead of 24 hours before baking? I want them Christmas morning but work Christmas Eve so was hoping to make them on December 23rd!
As yeast dough rests in the refrigerator it will ferment. The longer it’s fermenting, the more flavor it will have. This isn’t necessarily a bad thing, especially if you like sourdough bread. However, for cinnamon rolls, the gooey cinnamon filling and the icing should be the star flavors. This is why I suggest refrigerating no longer than 24 hours ahead of time.
I am SO excited to make these! Question about the icing, as I’ve had mixed results in the past so I’m looking for a good, solid icing recipe, if I wanted to make this without the cream cheese is there a good substitute? I’m hoping to make eggnog and espresso versions and I’m worried about how the cream cheese flavor will mix
Hi Mary! Unfortunately, I don’t offer recommendations on substitutes I haven’t tested myself. However, you could try a basic glaze like the one with my eggnog bundt cake.
These turned out INCREDIBLE!! Thank you so much! How would I do a raspberry version of these?
You could try filling them with homemade or store-bought raspberry jam instead of cinnamon sugar.