Homemade Pie Crust
This post may contain affiliate links. Read the full disclosure here.
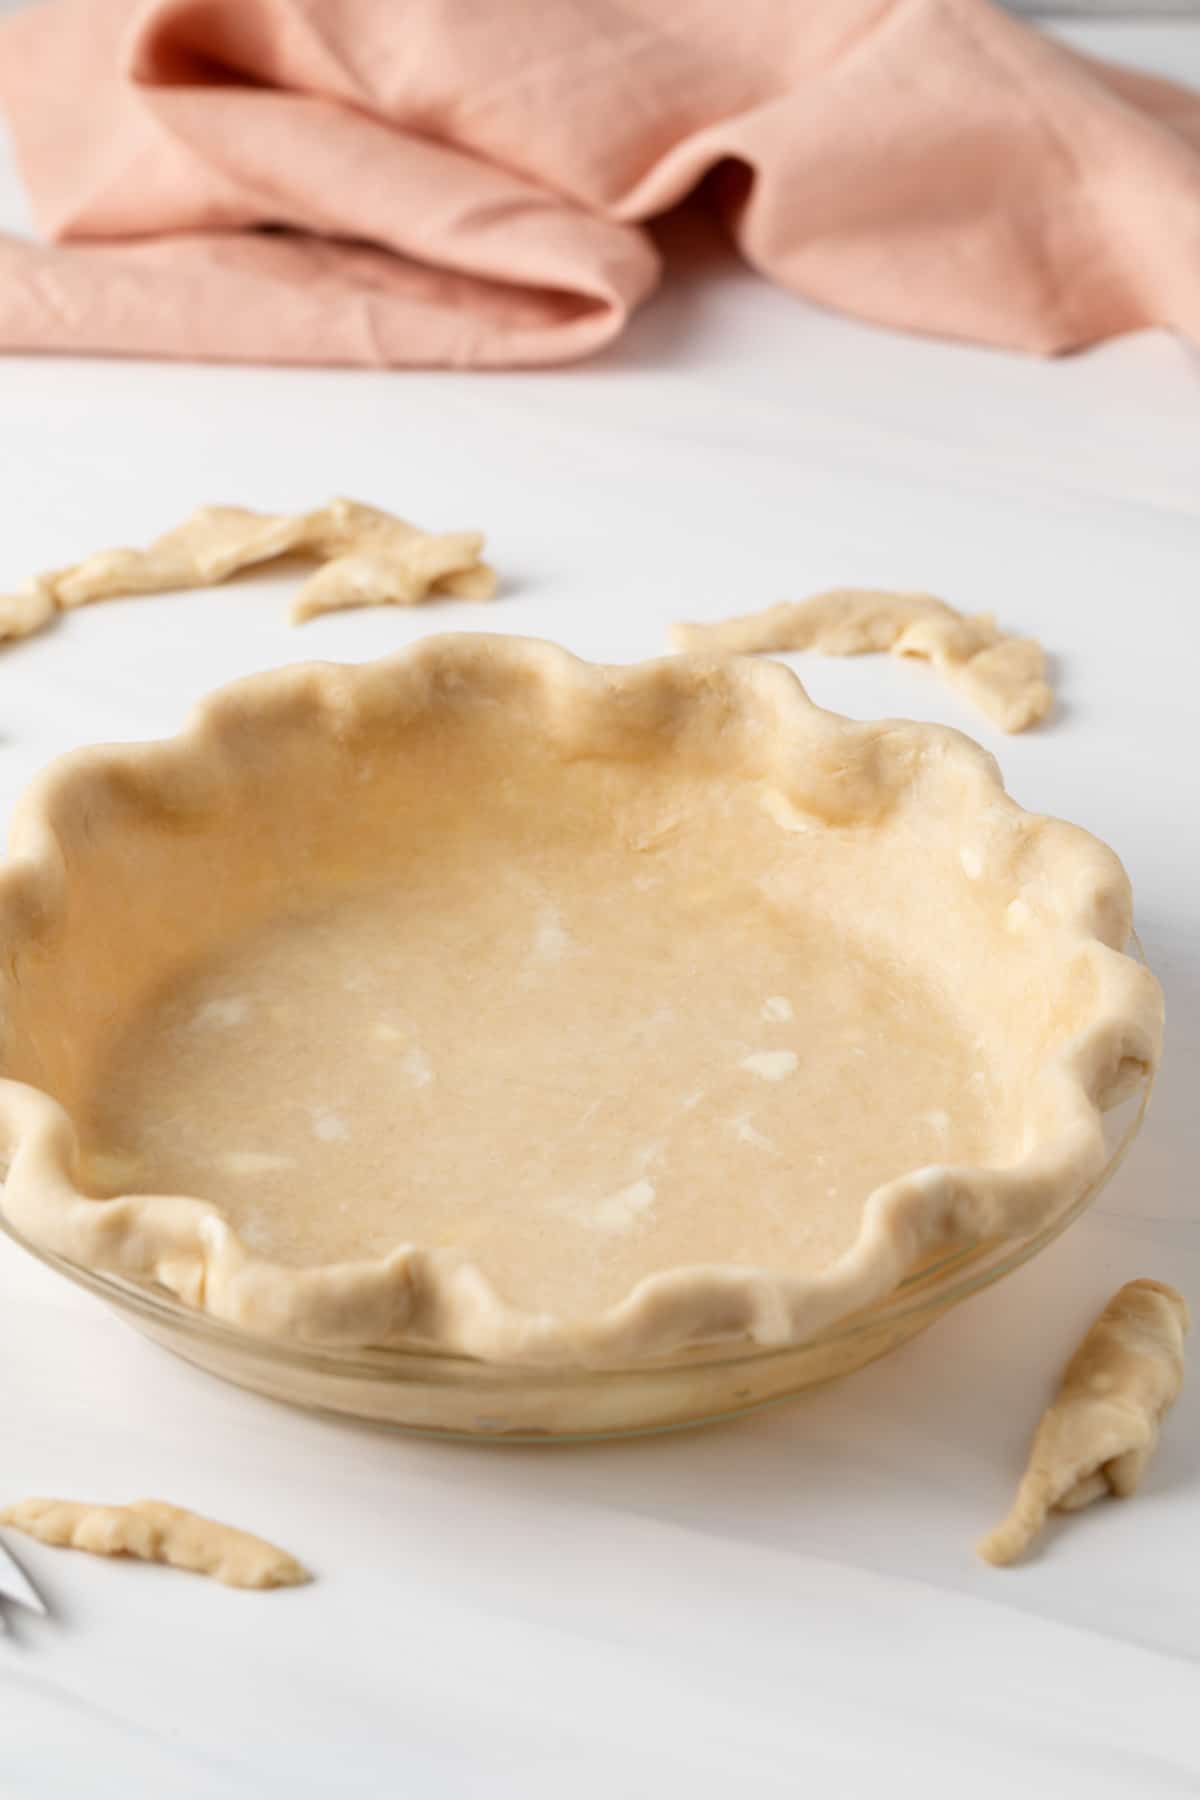
This buttery, flaky homemade pie crust recipe is simple to make and completely foolproof! Even beginners can have success with my tried and true tips.
Want To Save This?
I often hear people say how they are intimated to make pie crust from scratch. While I agree the thought can be daunting. The process is actually much simpler than most people imagine. Too simple actually.
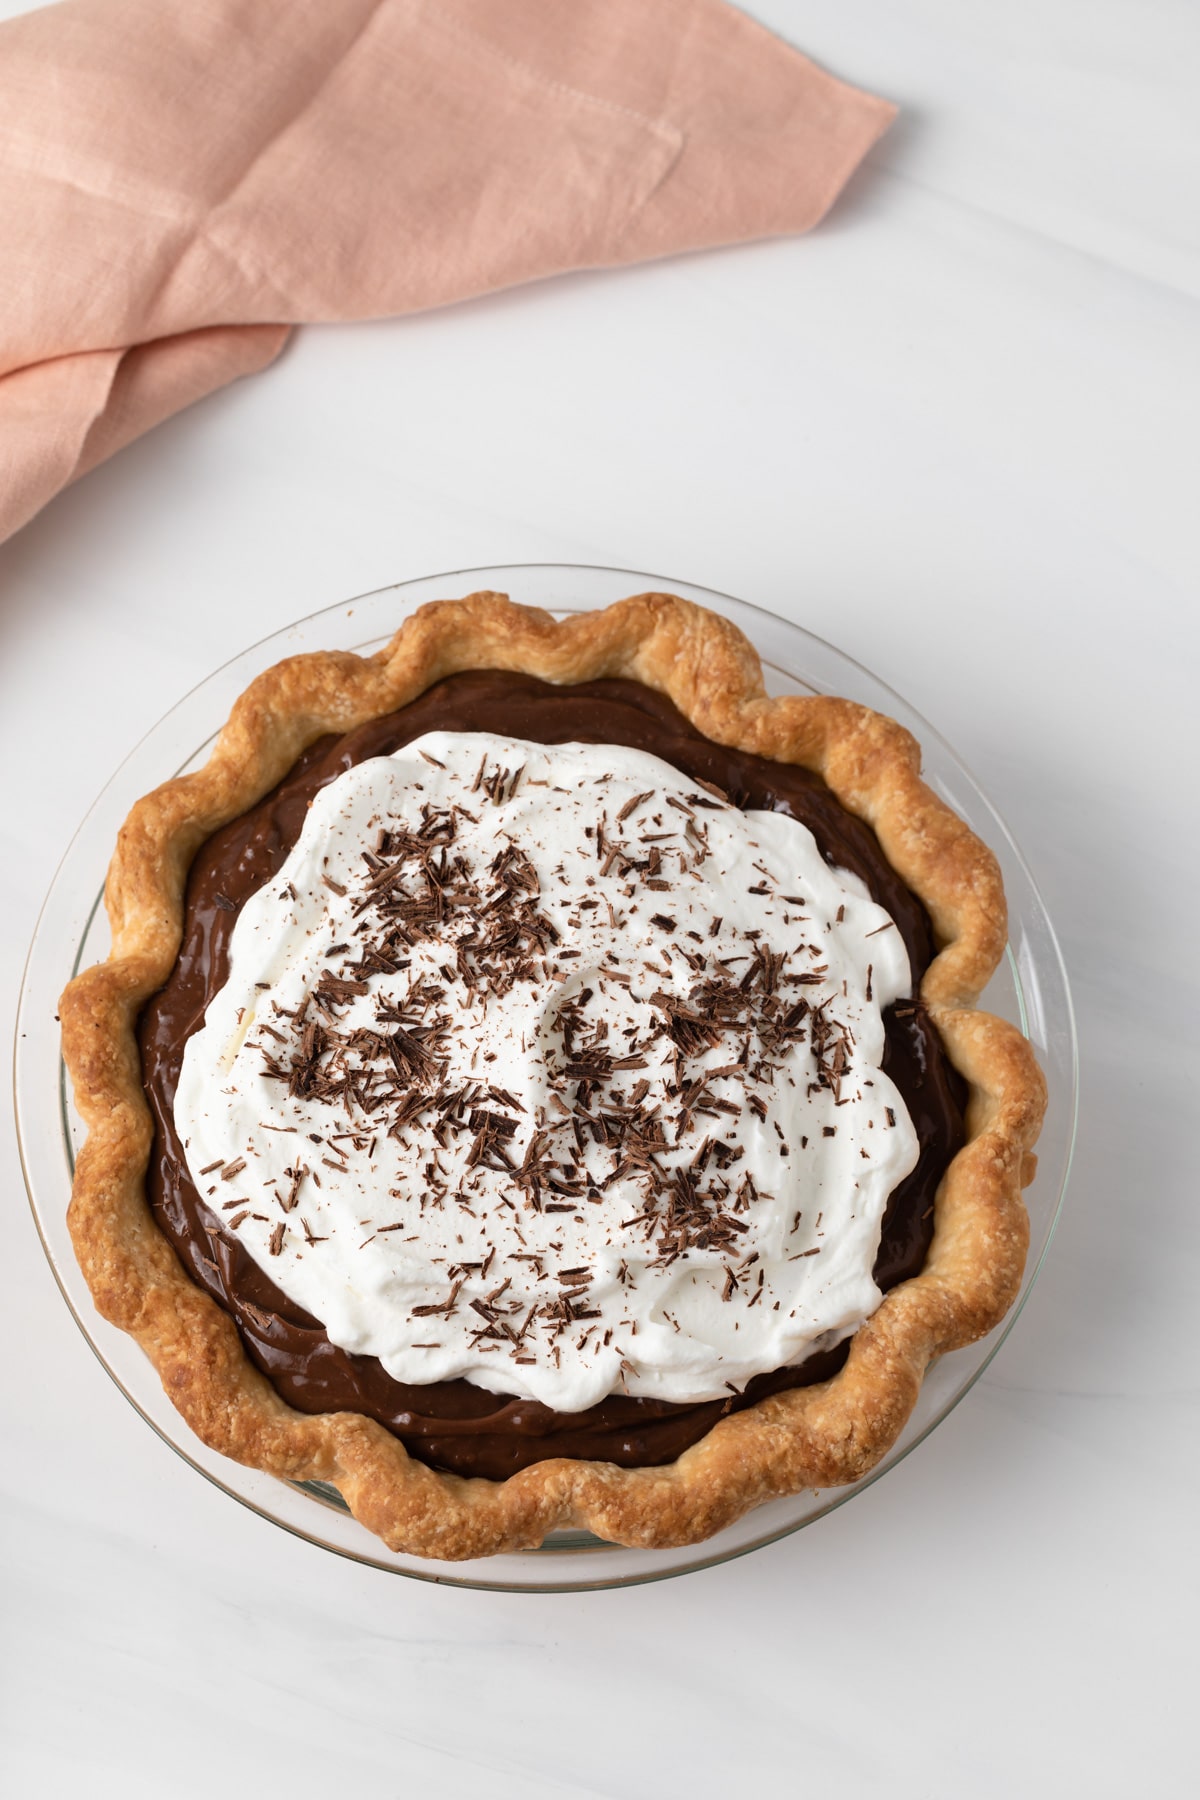
Today’s recipe is one of my favorites. I’ve used it time and time again when making pumpkin pie, honey pie, and banana cream pie.
There are two key ingredients in this pie crust recipe – butter and shortening. Shortening is flavorless but creates a flaky, crispy crust. So I used shortening for flakiness plus butter for flavor.
I also like to add a little sugar to the dough when I’m making pastry for sweet pies. It’s not necessary if you plan to use it for something savory like quiche.
Why this recipe works
- A combination of butter and shortening creates a buttery crust that is super flaky.
- Using just the right amount of liquid to get the dough to hold together is key. You don’t want a wet dough!
- Cutting the butter and shortening in until the mixture looks like lentils will give you a more uniform crust.
Pie crust recipe
Basic pastry dough, also called pâte brisée in French, is unsweetened and made with half as much butter by weight as flour. The pastry is moistened with water to activate the gluten.
My recipe is made with both shortening and butter to yield a sturdy yet flakier texture. I use sugar in my recipe but you can omit it if you plan to use the crust for a savory pie. I also give you the option to use water, vodka, or heavy cream.
The alcohol in vodka inhibits gluten formation so the crust stays tender, light, and flaky. Don’t worry, it cooks out during baking.
And heavy cream helps to keep the pastry from becoming too tough. It will give you a softer, richer crust.
Ingredients
The full ingredient amounts will be listed down below in the printable recipe card. You can easily double this recipe if you need a top crust.
- Flour: I use plain all-purpose flour. You can use half all-purpose and half cake flour to a more tender crust.
- Sugar: Sugar is completely optional. I use 2 tablespoons but this can be adjusted depending on how sweet the filling will be.
- Salt: A pinch of salt helps to enhance the flavor.
- Butter: Use unsalted butter and make sure it is cold. Keep in mind the more butter you use, the more delicate the crust will be.
- Shortening: Crisco vegetable shortening is my preferred choice. It should be cold as well.
- Water: You’ll need a few tablespoons of ice water to get the dough to hold together.
To make this pastry dough you’ll need:
- Mixing bowl: A simple medium to large mixing bowl is all you need.
- Pastry blender: Invest in a pastry blender (pastry cutter)! It makes cutting the butter and shortening into the crust so much easier.
How to make pie crust from scratch
Make sure to use cold ingredients when making pie crust! You want to maintain the integrity of those little bits of fat throughout the pastry.
Cold butter – Dice the butter into pieces and keep it in the refrigerator until you are ready to use it.
Cold shortening – Just like with the butter, cut it into small pieces, and keep it in refrigerated until you are ready to use it.
Cold water – Make that ice water! Fill a cup with ice and cold water. Dip the water out of the cup with a measuring spoon.
Step 1: Combine the dry ingredients
Add the flour, sugar (if using), and salt to a medium/large mixing bowl. Stir everything together with a whisk, making sure to get it well combined.
ⓘ If you live in a warm environment, it may help to freeze the butter and shortening. You can grate the frozen fats right into the flour and toss it together with a fork.
Step 2: Cut in the fats
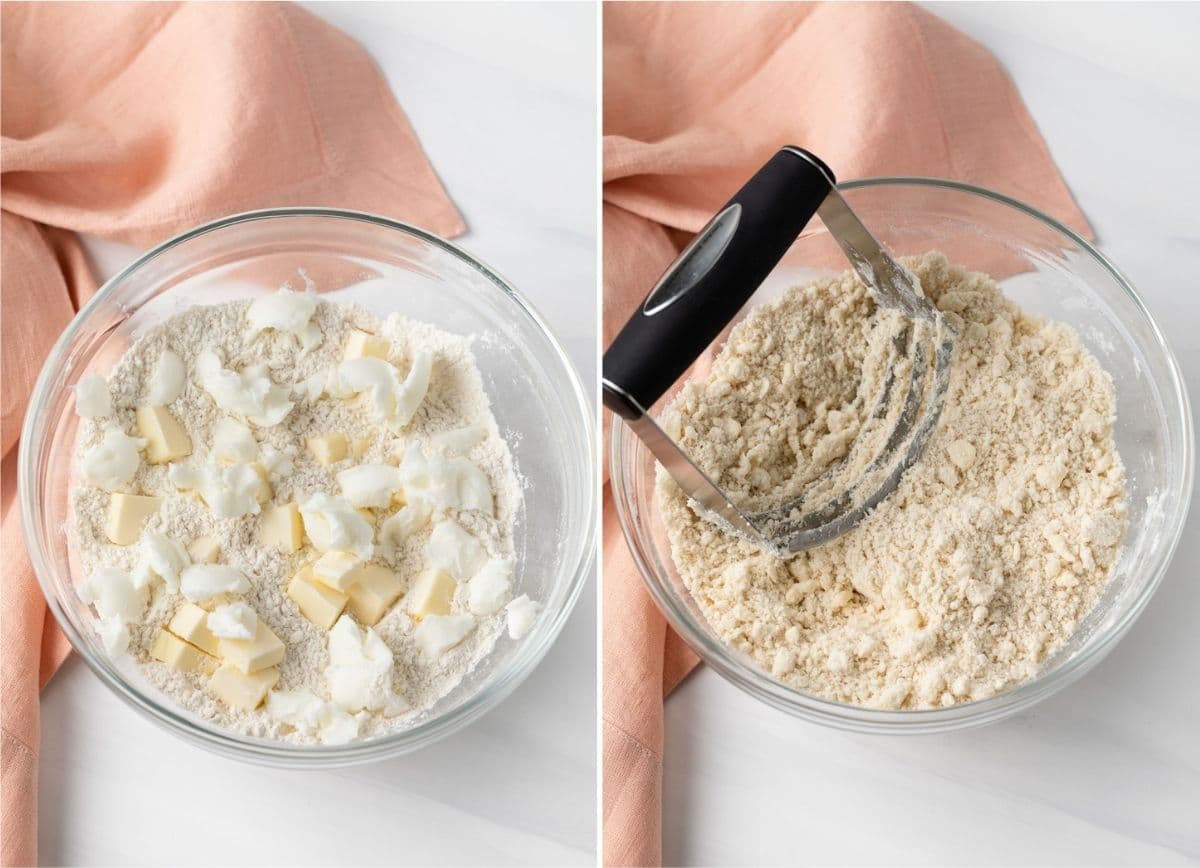
Add the butter and shortening to the flour mixture and use a pastry cutter to cut in the fats until the mixture resembles lentils.
A lot of recipes will say to cut the fats in until the mixture resembles peas. But I’ve found that the smaller the bits of fat, the more uniform the crust will be. This ensures those little bits of fat are evenly distributed throughout the crust.
Step 3: Add water to moisten
This is where it can get tricky. You want to be careful not to add too much water.
Drizzle in one tablespoon of ice cold water at a time. You may need more or less water depending on the humidity in your area.
After each tablespoon of water you add, toss the mixture together with a fork. Don’t stir vigorously, just gently toss it around to moisten the flour. Continue to add water until your able to pinch the dough together and it holds.
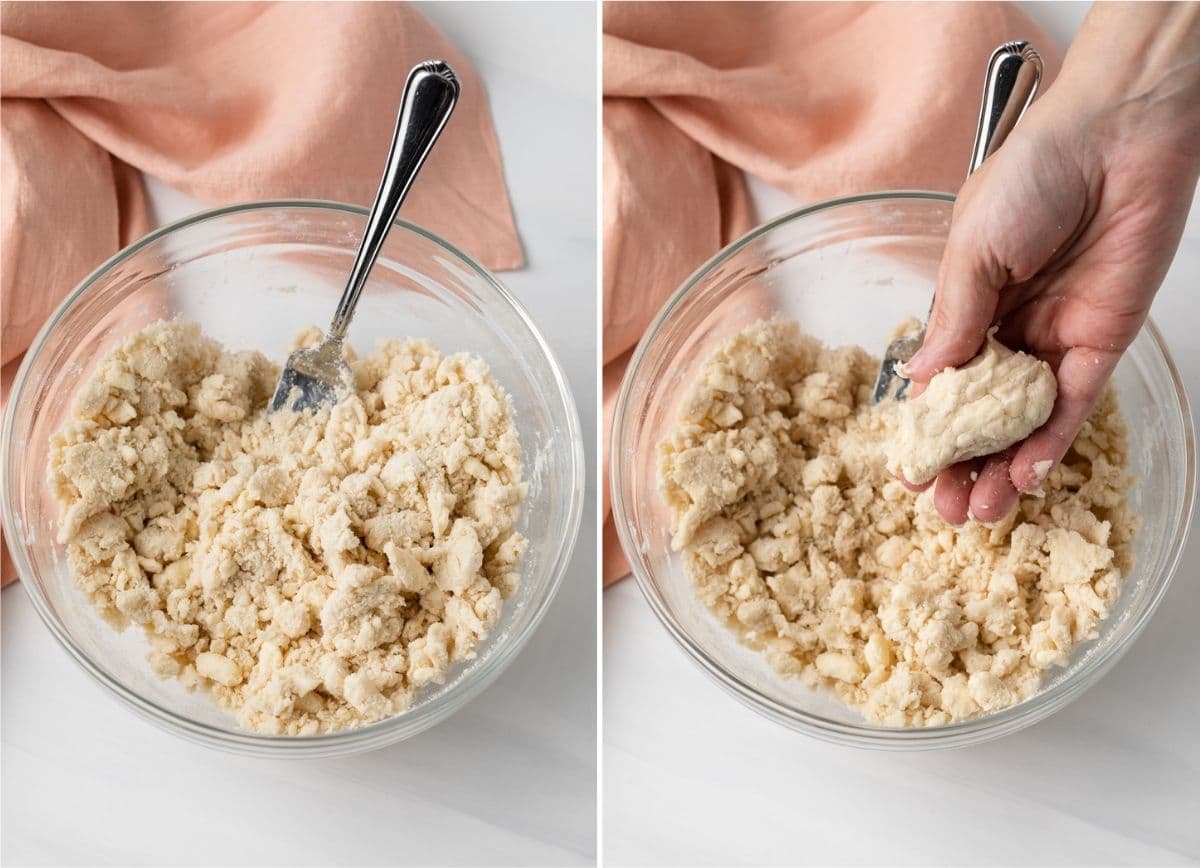
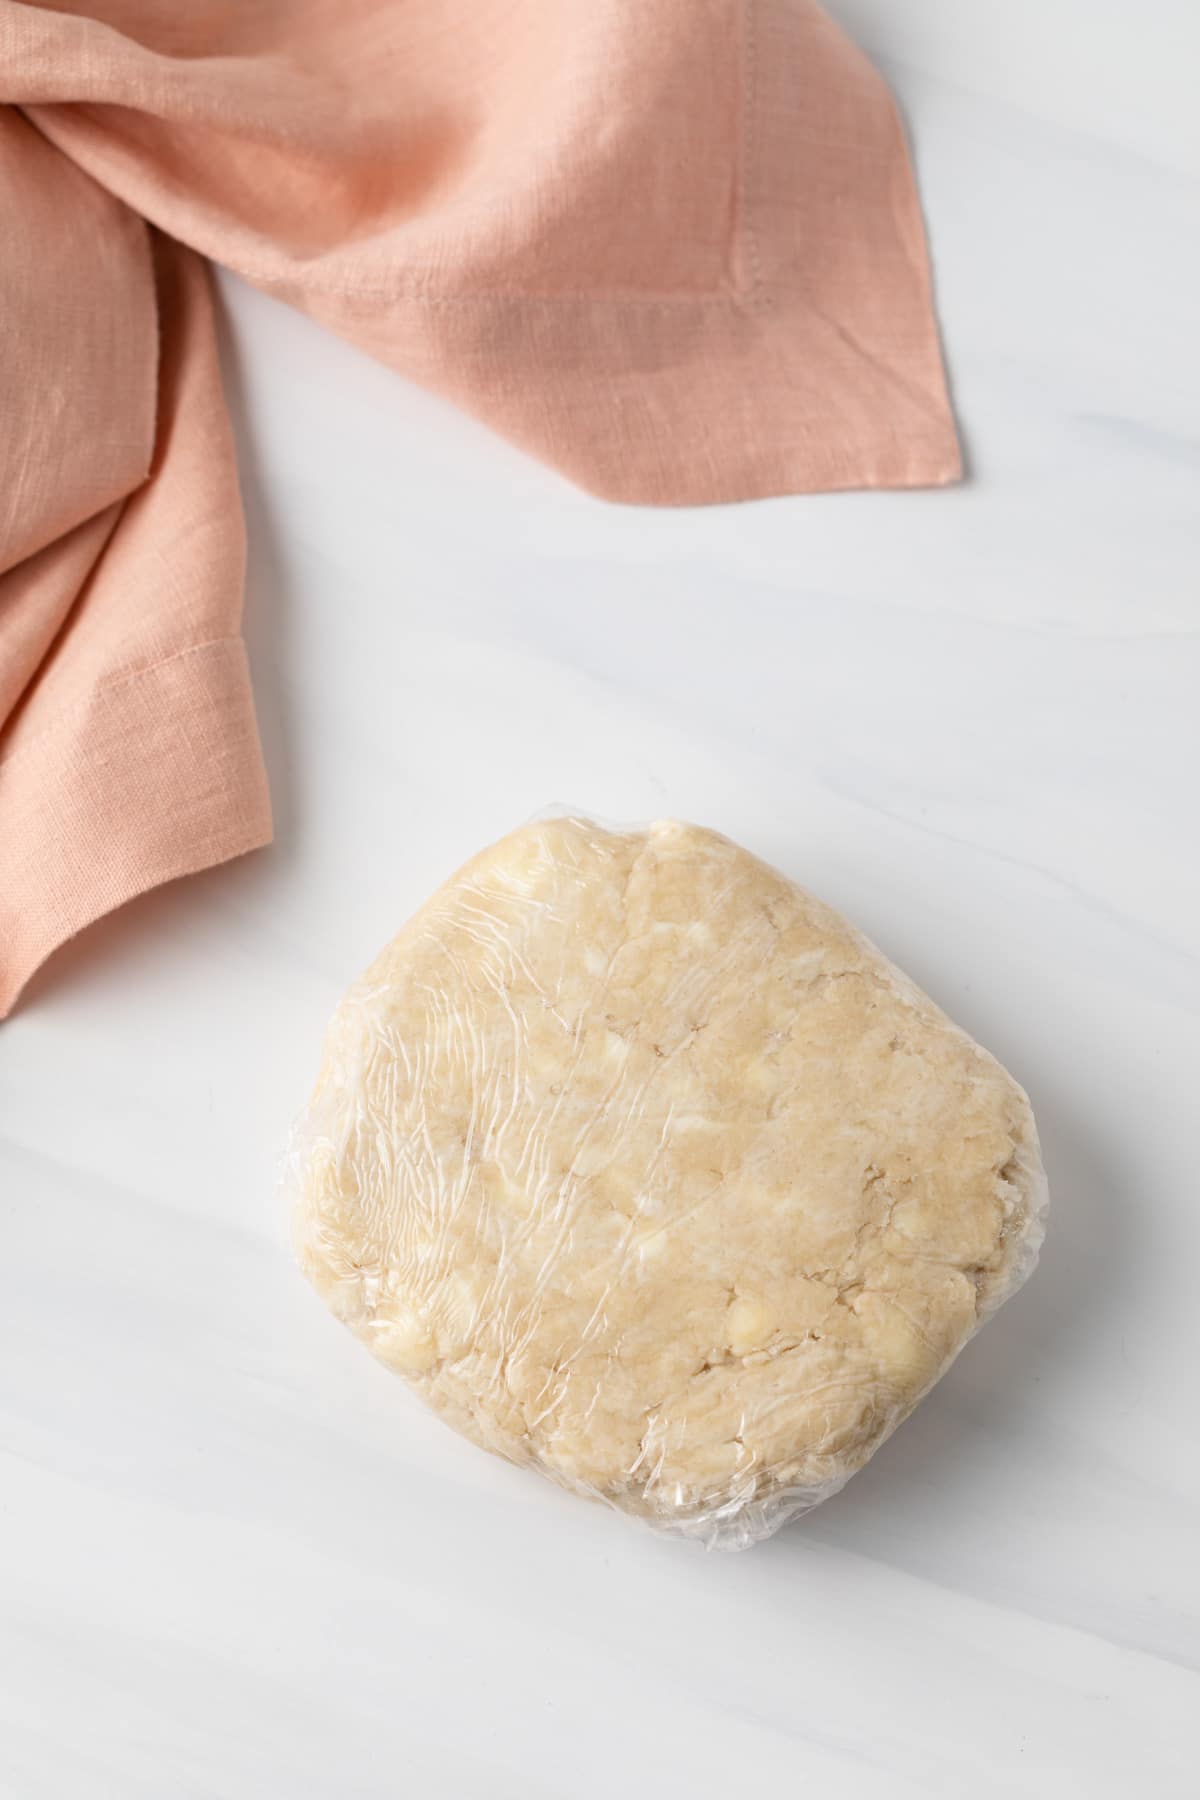
Dump the dough onto a work surface and gently knead it until it comes together in a ragged mass. Flatten the dough into a disk, wrap it tightly in plastic wrap and refrigerate it for at least 30 minutes before trying to roll it out.
How to roll out pie crust
Rolling out pie crust is super simple. The secret is to keep the dough from sticking to the surface or the pin.
You’ll need a good rolling pin, I like to use this silicone French rolling pin. A pastry mat is also helpful. It prevents sticking and makes clean up a breeze.
Make sure to allow the dough to refrigerate for at least 30 minutes. This will give the gluten time to relax and allow the flour to soak up all the moisture from the water.
Keep your work surface lightly floured as you roll the dough out. Flour the rolling pin and the top of the dough as well. Turn the dough as you roll to prevent sticking. If you notice the dough starting to stick, sprinkle a little more flour underneath.
Have your pie pan nearby. Flip it upside-down and hold it over the dough. You want to roll the dough about 3 to 4-inches wider than the rim of the pie pan. Keep rolling and turning until you get there.
Gently roll the dough up around the rolling pin then unroll it into the pie plate. If you have trouble rolling the dough around the pin, you can fold it in half or into quarters then unfold it into the pie plate.
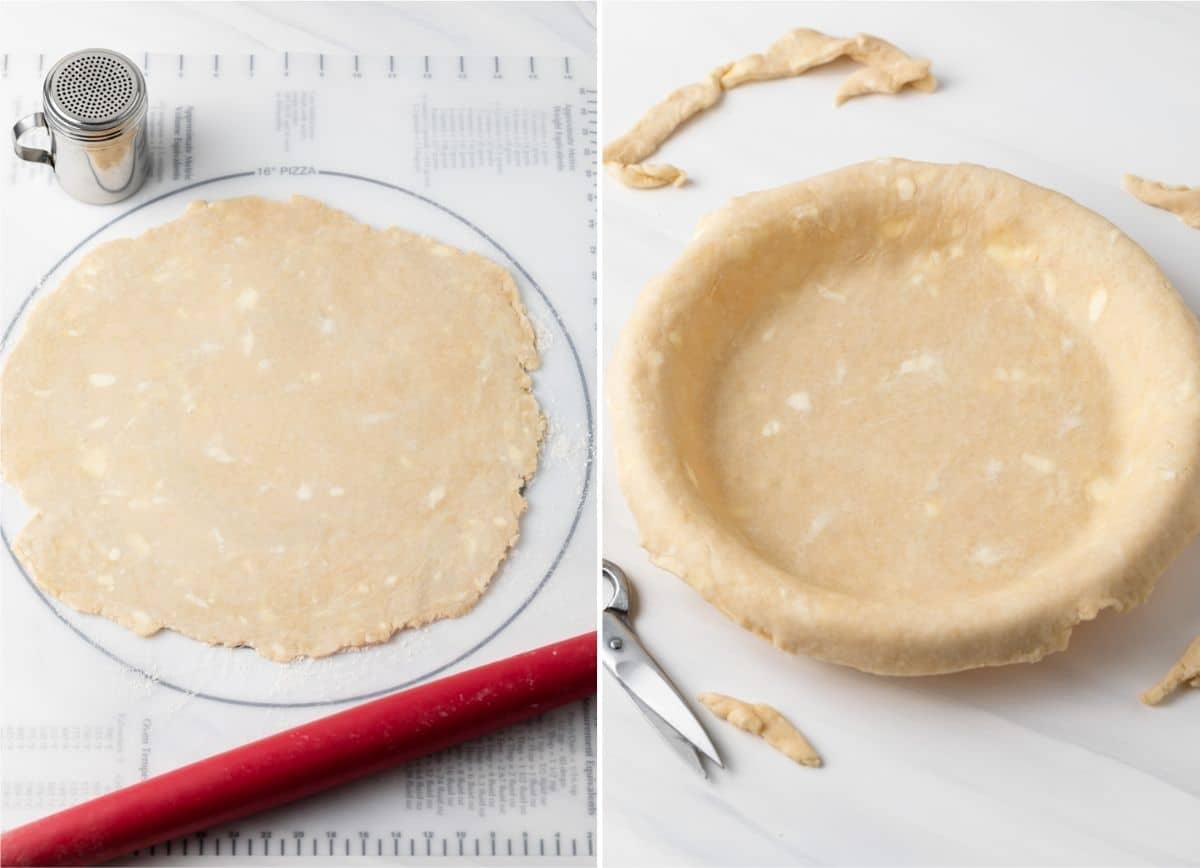
Gently press the dough into the bottom and sides of the pan. Don’t stretch the dough as this can cause it to tear or worse – shrink during baking. Instead, gently lift the dough and allow it to settle into the pie dish then use your fingers to lightly press it into place.
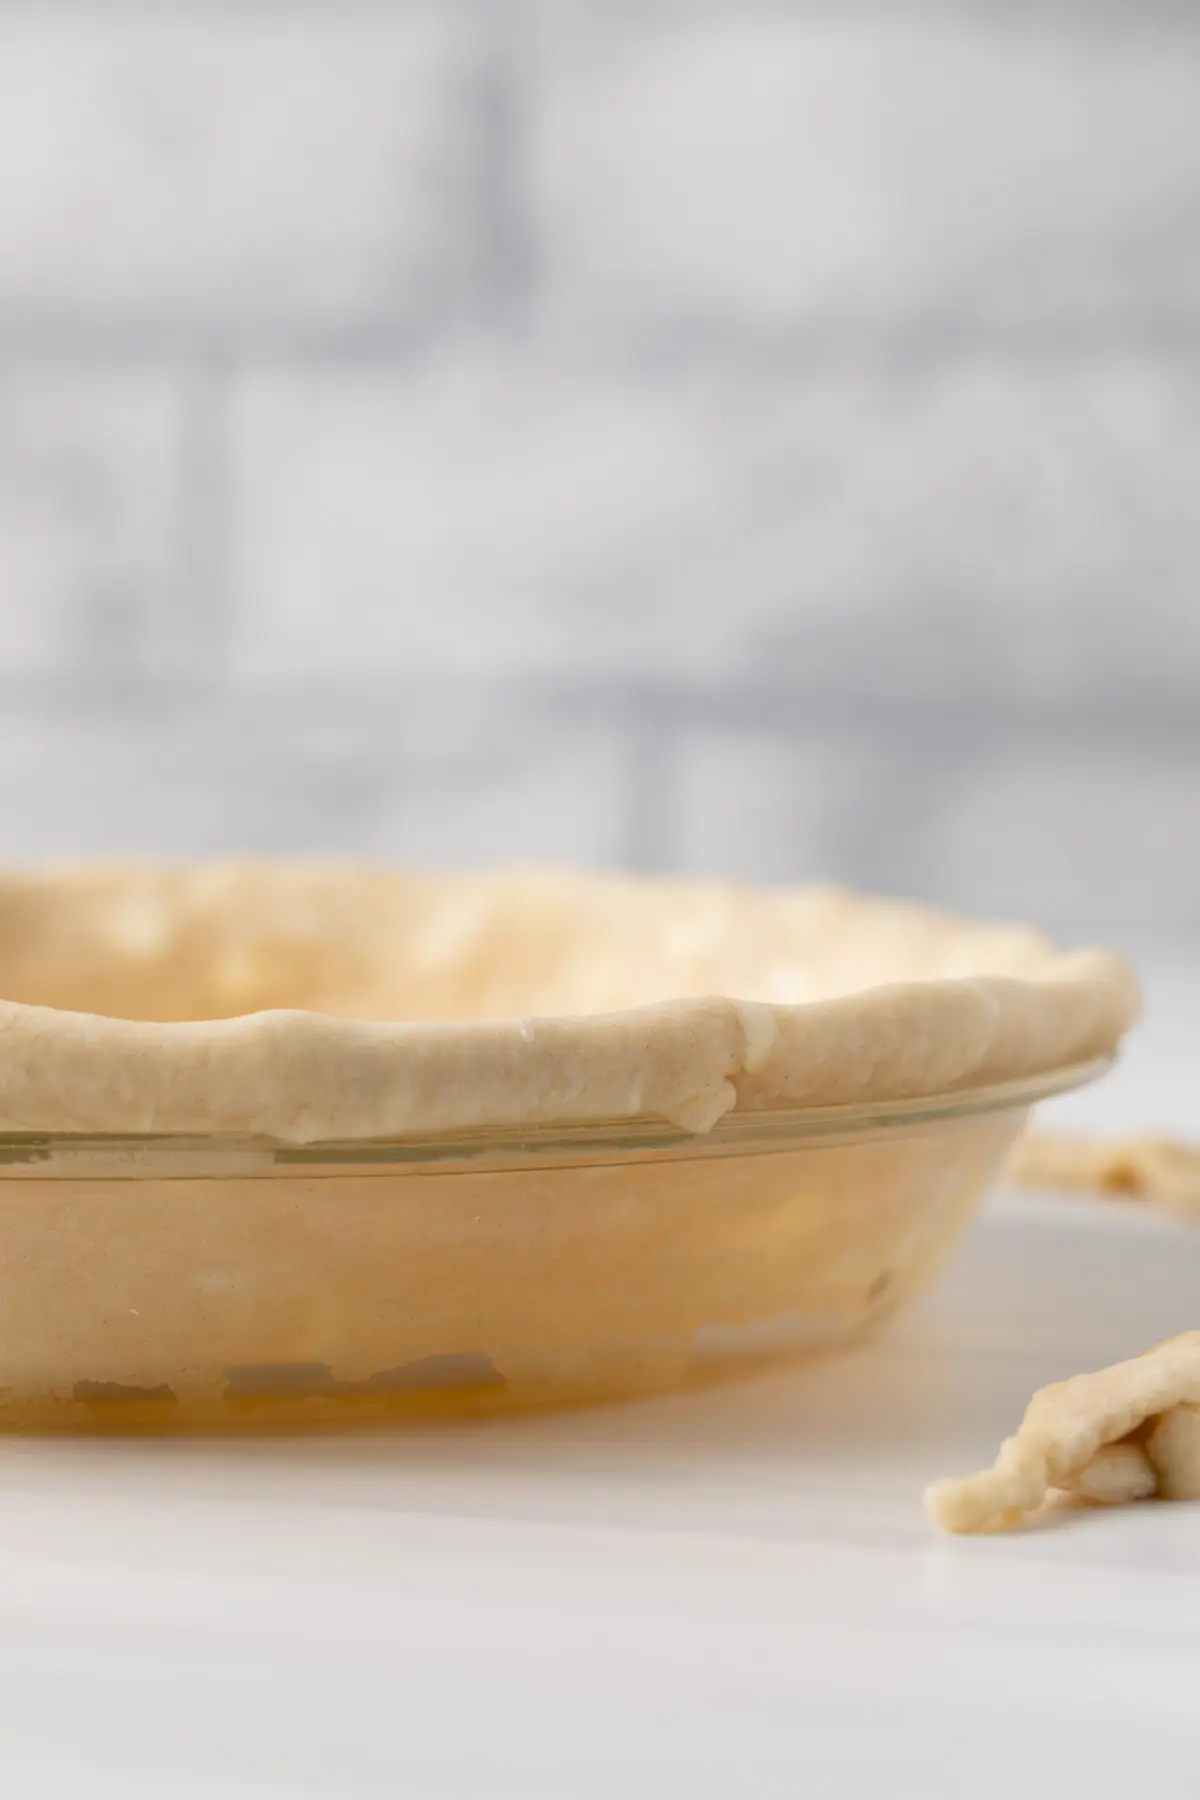
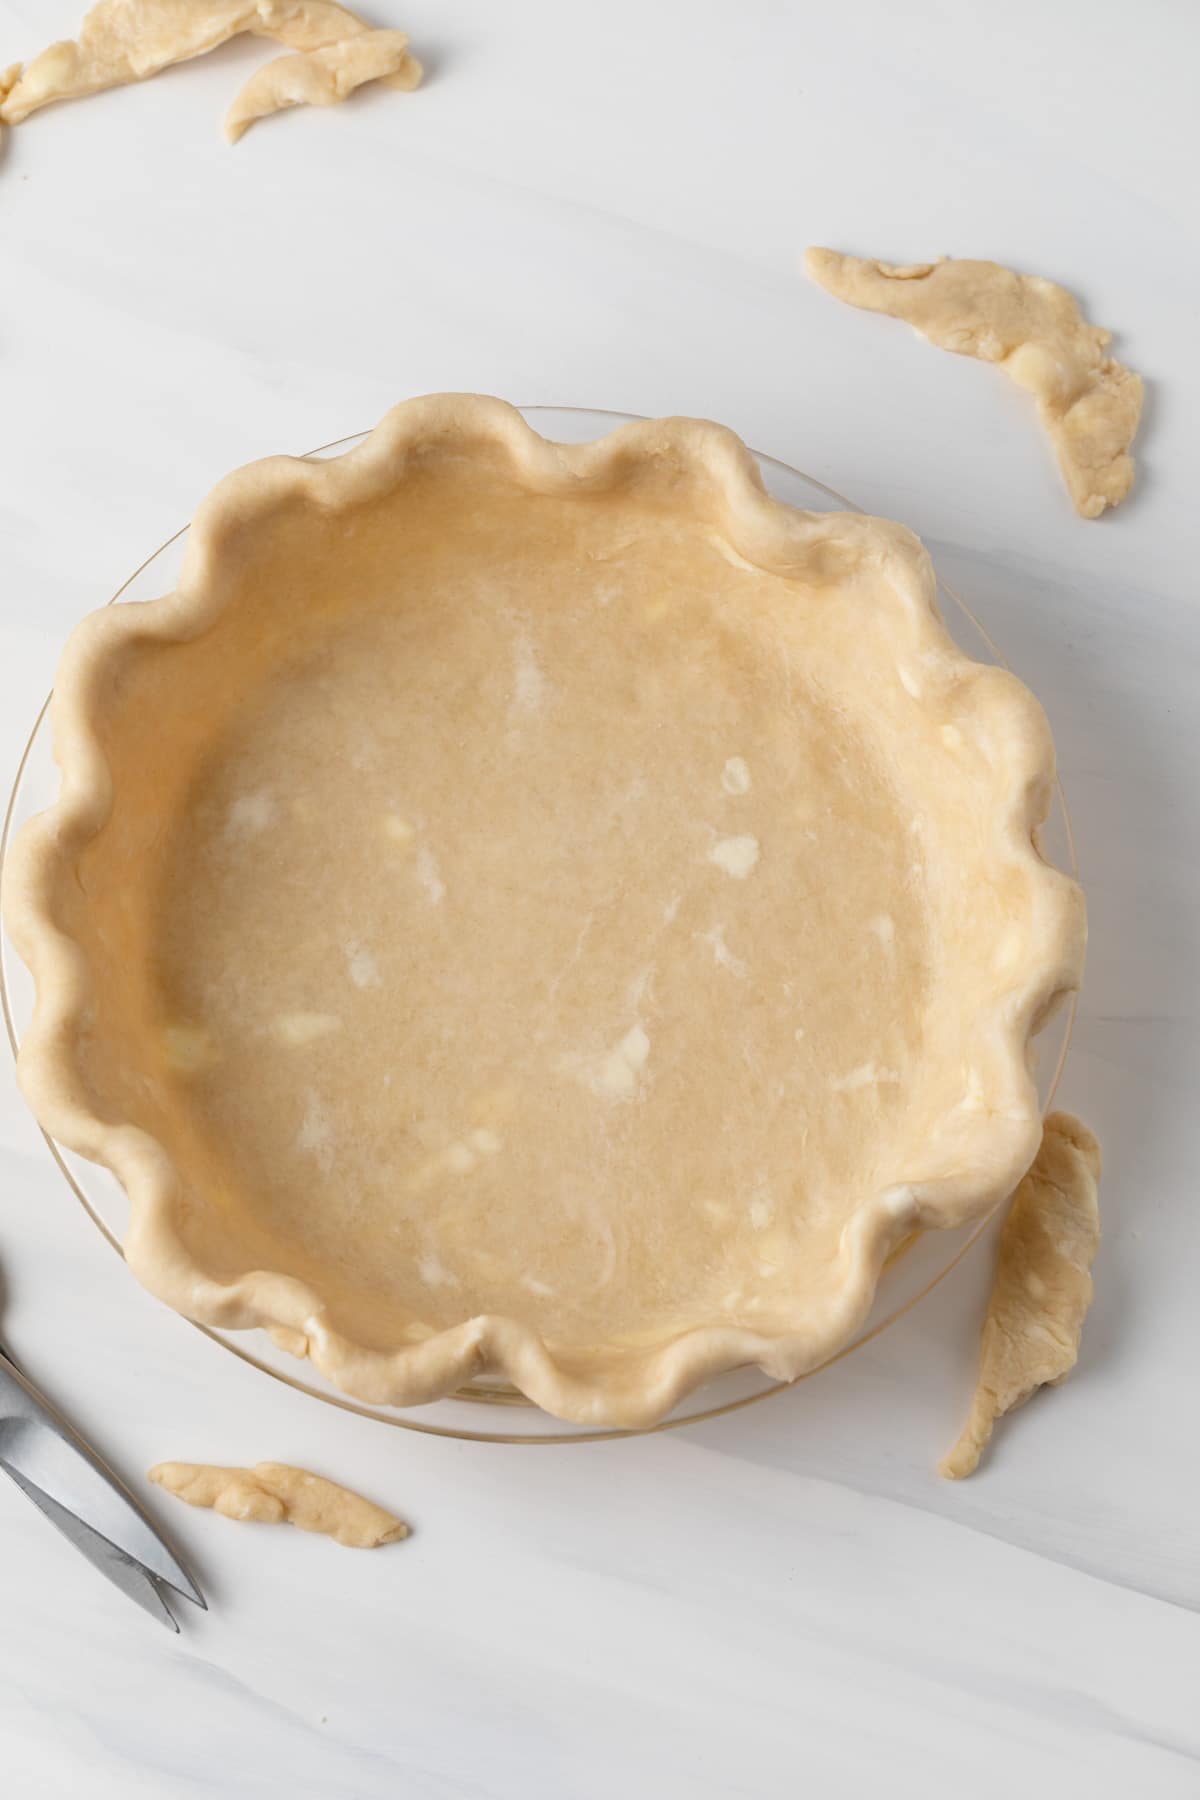
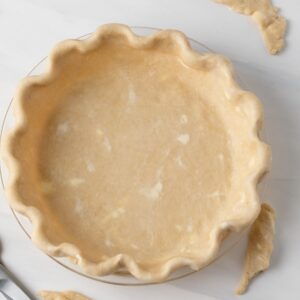
Trim the excess dough leaving about a 1-inch overhang. You can leave a little more if you like an extra-thick edge. Tuck the overhand under so it’s resting evenly on the lip of the pan. Use your fingers to flute the edges as desired.
Tips for perfecting pie crust
- Temperature: The most important thing when it comes to making pie crust is to never allow the dough to get too warm. You may need to refrigerate the dough a few times while making it to ensure it stays cold.
- Overworking: Overworking pastry dough will cause the gluten to activate. This results in a tough product. But, refrigeration helps deactivate gluten. If you’ve overworked the dough you can chill it for 30 minutes to relax the gluten.
- Fat: I like to use a combination of butter and shortening. I find the two combined yields a dough that’s easy to work with and it bakes up flakier. If you’re not a fan of shortening, use cream cheese in its place.
- Avoid using all butter. All butter crusts are extremely delicate and can be difficult to work with.
Homemade Pie Crust
Ingredients
- 1 ½ cups (195 g) all-purpose flour
- 2 tablespoons granulated sugar
- ¼ teaspoon salt
- 5 tablespoons (70 g) unsalted butter, cold & cut into pieces
- 4 tablespoons (46 g) vegetable shortening, cold & cut into pieces
- 5 tablespoons ice water
Instructions
- Combine the flour, sugar, and salt in a large mixing bowl. Stir with a whisk until well mixed.
- Using a pastry cutter or two knives cut the butter and shortening into the flour mixture just until lentil sized crumbs form. A few larger bits are perfectly okay.
- Drizzle just enough ice water over the flour to moisten it. Toss the mixture together with a fork to combine. You will know you have enough liquid when you can squeeze the mixture and it holds together.
- Turn the dough out onto a work surface and gently knead until the dough comes together. Flatten the dough into a disk, wrap tightly in plastic wrap, and refrigerate for at least 30 minutes.
- When ready to use, roll the dough into a circle that’s about 4-inches larger than the diameter of your pie pan. Gently place it in the pie pan without stretching it.
- Trim the edge so there’s a 1-inch overhang over the sides of the pie pan. Fold the excess dough under so it sits up on the rim of the pan and flute as desired.
Notes
- If you prefer not to use shortening, you can use cream cheese in its place. Avoid using all butter as this will make the crust delicate and it may be difficult to roll out.
- Try using vodka or heavy cream instead of water. Vodka inhibits gluten development so the crust stays tender, light, and flaky. Heavy cream will yield a softer, richer crust.
- Double the recipe if a top crust is needed. Divide the dough in half and wrap each half tightly in plastic wrap before refrigerating.
- Prepare the pie dough through step 2 and freeze the discs for up to 3 months. Thaw in the refrigerator overnight before using.
Nutrition
The nutrition information provided is for convenience and as a courtesy only. It is not guaranteed to be accurate because nutrition information can vary for a variety of reasons. For precise nutritional data use your preferred nutrition calculator and input the exact ingredients and brands you used in the recipe.

Beautiful presentation. I love making pie crusts and it can be so intimidating. You give a great explanation with lots of steps. Love it!
Beautiful presentation. I love making pie crusts and it can be so intimidating. You give a great explanation with lots of steps. Love it!
Always on the lookout for pie crust ideas, and I have been able to cobble up many thus far. Thanks Jen!
You make one mean pie crust my friend!
Pie crust is the second best part of pie, the fruit filling is the first, but it has to have both 😉 Great tutorial!
I agree, pie crust isn’t nearly as scary as it seems! Your photos of the process are great, pinned!
Thanks for the pin, Lindsay!